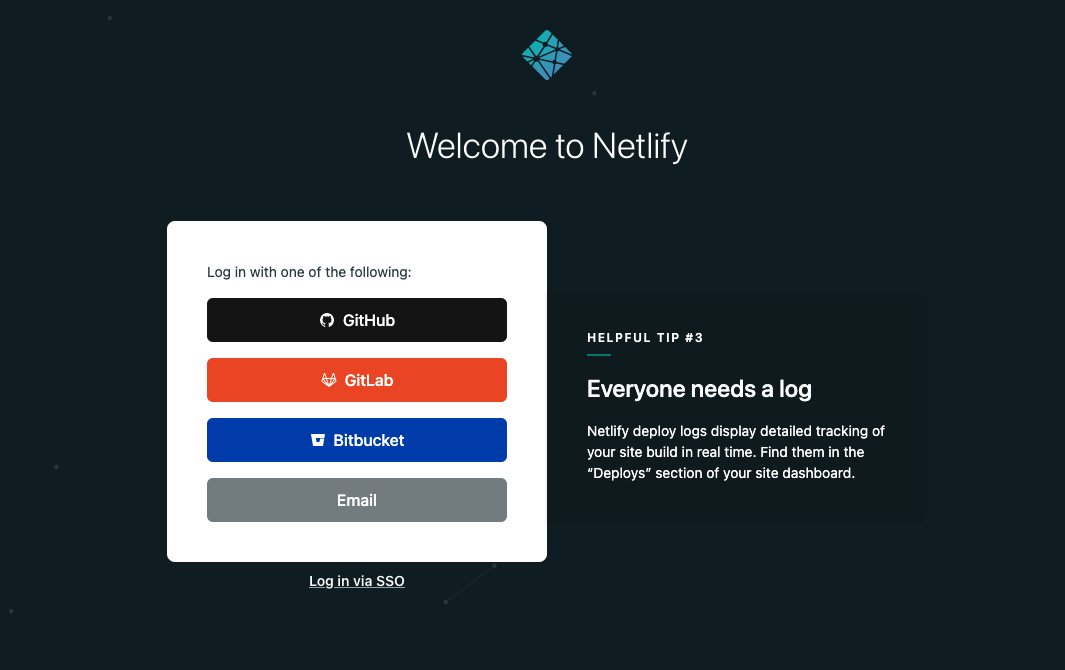
How to Deploy Your App to Netlify
Furkan is a software engineer and frontend developer, whose main purpose is to create best optimal experience for user but also keeping the application or project as performant as possible.
He is deeply interested on web technologies and he is building new projects in this subject. He is especially familiar with React, Vue, Node and Java. You can check out what he built on his GitHub account. There is potential ways to connect with him at the end of this summary 👇
Things he like to do; ✔ Trying to solve other people's struggles ✔ Teaching or telling some subject he know to friends or colleagues ✔ Building different kinds of projects ✔ Meeting & talking with new people ✔ Listening podcasts ✔ Playing Chess ✔ Watching drama | sci-fi movies ✔ Listening music while I travelling or trying to fix problems ✔ Researching next generation technologies like cyptocurrency, IoT, smart devices
If you want to reach out with him, here is how you can do it;
🔼 Blog: https://blog.furkanozbek.com/ 🔼 GitHub: https://github.com/afozbek 🔼 Mail: abdullah.furkan.ozbek@gmail.com 🔼 Twitter: https://twitter.com/afozbek_ 🔼 Instagram: https://instagram.com/furkan.codes/
Thanks for reading ✨